
The thrill of drafting a custom home floor plan is rarely matched by anything else in adult life. Walking an empty piece of property, sketching room layouts on paper napkins, and picturing where the morning light will hit your kitchen counter is deeply satisfying. However, that creative momentum often hits a sudden wall when the initial cost estimates arrive. Too many prospective homeowners watch their dream builds stall or spiral out of control simply because the financial framework was treated as a secondary thought rather than the foundation of the design itself.
Controlling costs on a custom build does not mean settling for inferior quality or abandoning your vision. Instead, it requires shifting your mindset from reactive spending to proactive financial planning. Unplanned expenses rarely stem from a single massive mistake; they are usually the result of dozens of small, uncoordinated choices made during construction. By establishing a rigorous financial structure early, evaluating alternative building strategies, and organizing trade schedules before breaking ground, you can protect your budget while creating a space that lasts for generations.
Setting a Hard Financial Baseline Before Breaking Ground
The biggest financial mistake on any custom build is assuming the construction estimate represents the total cost. A complete budget must account for every phase of development long before heavy machinery touches the dirt. Start by breaking your capital into four distinct categories: land acquisition, soft costs, site development, and actual construction.
Soft costs—such as architectural fees, land surveys, engineering reviews, and municipal permitting—can easily claim ten to fifteen percent of your total budget before any physical work begins. Site development is another variable that catches homeowners off guard. Clearing timber, excavating rock, bringing in utility connections, and managing soil stability must be accounted for upfront.
To maintain control over these variables, consider the following approach:
- Calculate your absolute ceiling for financing, then subtract a non-negotiable fifteen percent contingency fund right off the top.
- Direct your site engineer to conduct a thorough soil test to identify subsurface issues before finalizing foundation designs.
- Establish a detailed scope of work alongside a qualified home building company to verify that your square-footage expectations align with current regional labor and framing rates.
- Review alternative structural options for detached utility spaces, such as using prefab metal buildings for secondary workshops or storage to save on framing labor.
By setting aside your contingency fund immediately, you build an active safety buffer for material price shifts or unforeseen ground conditions, ensuring that your core construction fund remains untouched and fully predictable.
Understanding where every dollar goes requires breaking down hard costs into specific trade allocations. Foundation work and initial ground prep typically claim roughly fifteen percent of direct construction capital. Structural framing and exterior sheathing demand another twenty to twenty-five percent. Mechanical systems—including rough-in plumbing, electrical panels, and climate control infrastructure—consume another fifteen to twenty percent. The remaining balance funds interior finishes, cabinetry, flooring, and site cleanup.
When you view your build through these distinct percentage buckets, it becomes much easier to identify where cost inflation occurs. If your initial architectural drawings push structural framing into thirty-five percent of your total budget, you know immediately that the home’s geometry is too complex for your financial baseline. Recognizing these red flags on paper gives you the leverage to simplify structural lines, adjust roof pitches, and protect your capital before committing to binding trade contracts.
Exploring Efficient Frameworks to Lower Overall Square-Footage Costs
Every wall, corner, and roof pitch you draw directly influences the framing labor and structural engineering required to build your home. Complex footprints with multiple bumped-out corners and intricate rooflines require far more time, timber, and specialized labor than simpler, more efficient geometries. If you want to maximize your square footage without letting costs out of hand, look closely at how the primary framework is designed.
Imagine a family planning a large multi-use property in a rural area. They want four thousand square feet of total space, but only half of that needs to be finished living area—the rest is intended for vehicle storage, a workshop, and agricultural equipment. Framing a traditional multi-story residential structure of that size using standard timber techniques would push their budget over the edge.
Instead of building a massive traditional home alongside separate detached outbuildings, they brought in specialized barn builders to evaluate alternative floor plan approaches. By shifting toward a unified barndominium structure, they were able to enclose the entire footprint under one continuous structural shell. This approach drastically reduced exterior foundation costs, consolidated roofing materials, and streamlined overall construction time.
For comparison, a traditional approach of building a finished house alongside a separate workshop results in double the foundation and roof costs. In contrast, a unified alternative places both the finished living space and utility area under one continuous structural shell, cutting overall structural framing overhead significantly.
Engineering efficiency also depends heavily on clear-span distances and standardized dimensioning. Lumber and structural panels are manufactured in standard four-foot increments. When a floor plan calls for custom wall dimensions like twenty-three feet three inches, every joist, sheathing panel, and drywall sheet must be individually measured, cut, and trimmed on site. That added labor increases site waste and extends framing schedules.
Designing rooms around four-foot modules reduces material waste and speeds up assembly. Similarly, keeping upper-floor load-bearing walls positioned directly above ground-floor structural walls removes the need for expensive steel support beams or engineered micro-lam headers. Simple structural alignment keeps site labor focused on fast, straightforward execution rather than complex structural retrofits.
Rethinking standard architectural formats allows you to keep structural framing costs manageable while retaining the large, open layouts today’s homeowners desire.
Sourcing Materials Directly to Avoid Markup and Logistics Delays
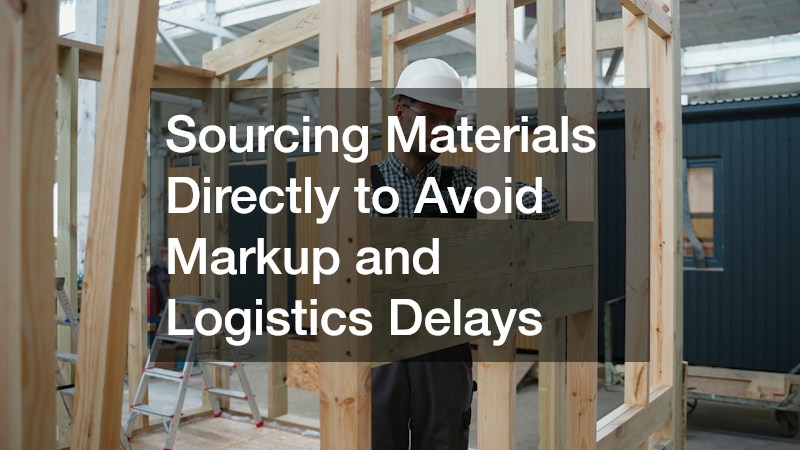
Material management is another area where custom home budgets tend to drift. When a project relies entirely on ad-hoc orders placed mid-construction, expenses quickly stack up through individual delivery fees, retail markups, and schedule delays caused by missing hardware.
Take a typical framing phase: if your crew stops work for two days because specific structural fasteners or pressure-treated ledger boards are backordered, you are paying for wasted downtime while risking weather damage to exposed subflooring. The solution is taking an active role in material scheduling before the first nail is driven.
Sit down with your designer and builder to produce a complete material takeoff list long before breaking ground. Take that detailed list to a regional building supply house to discuss bulk package pricing and staged delivery timelines. Locking in prices early protects your project from volatile commodity fluctuations.
The same principle applies to heavy exterior finishes. Stone veneer, brick facings, and concrete pavers carry high shipping charges due to weight. Sourcing these items through a local masonry supply reduces freight distances and ensures that replacement units are readily available if onsite breakage occurs. Direct sourcing keeps your job site running on time while lowering transport overhead.
Effective procurement also requires establishing a strict staging schedule on site. Delivering finish materials too early creates serious financial risks. Hardwood flooring, interior doors, and custom cabinetry stored inside a home that is not yet fully weather-tight or climate-controlled will absorb moisture, leading to warping, swelling, and ruined finishes. Conversely, ordering materials too late guarantees trade downtime and scheduling conflicts.
Work closely with your primary trades to create a just-in-time delivery schedule. Heavy structural materials like concrete, framing lumber, and roof trusses should arrive right before installation. Delicate interior products should only be delivered once the exterior envelope is fully sealed and HVAC systems are active. This disciplined logistics strategy eliminates replacement costs and keeps your construction schedule moving forward cleanly.
Locking In High-Impact Interior Features Early in Design
Changes made on paper cost very little; changes made on a job site with hammer and prybar are extremely expensive. Change orders remain the single largest cause of budget overruns in custom residential construction. They usually happen when a homeowner waits until the framing stage to make decisions about complex interior features.
Consider a multi-story foyer. If the original plan called for a standard drywall-enclosed stairwell, the structural framing under the subfloor will reflect that basic layout. If you decide mid-build to swap that standard stairwell for an open-concept feature with floating hardwood treads and custom steel railings, the entire surrounding floor system must be opened back up, re-engineered, and reinforced to bear the new load points.
In an early planning scenario on paper, a design choice leads directly to structural engineering and efficient framing. However, when making mid-build changes on site, that same design choice forces demolition, costly re-engineering, and complete re-framing of the area.
To avoid these costly modifications, work directly with expert stair builders during the initial architectural drafting phase. Finalizing structural attachments, stringer placements, and rough opening dimensions upfront allows your framing team to prepare support blocking during initial assembly. This eliminates tear-outs and ensures that specialized craftsmen can step in, complete their installation, and keep the project moving without delay.
Early decision-making is equally critical for mechanical, plumbing, and electrical layouts. Deciding to relocate a kitchen island sink after the concrete slab is poured requires jackhammering up cured concrete to re-route drain lines, costing thousands in extra labor. Selecting light fixtures, plumbing valves, and appliance dimensions during the initial design phase allows mechanical trades to install rough-ins accurately the first time, keeping your project clean and on budget.
Phasing Outdoor Infrastructure into the Primary Build Schedule
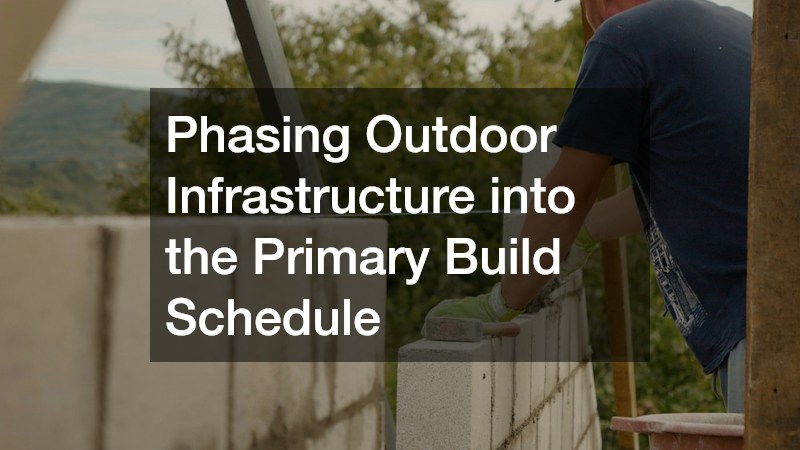
It is common for homeowners to focus entirely on indoor living spaces during early planning, treating outdoor decks, patios, and landscaping as project additions to be tackled later. However, ignoring outdoor living spaces during initial site planning almost always leads to higher costs and messy retrofits down the road.
If you plan to add a large elevated composite deck off your main living room, setting the groundwork during primary excavation is far more economical than bringing equipment back after your lawn and driveway are finished.
When your foundation crew pours the main footings, have them pour the deck pier footings at the same time. Mobilizing concrete equipment once is significantly cheaper than paying for a separate pour months later.
Likewise, framing the ledger board connection into the home’s primary floor system while the exterior walls are open guarantees a watertight, code-compliant seal. Partnering with seasoned deck builders early in the design phase ensures that structural loads are integrated seamlessly into the main foundation plan. This proactive approach saves thousands compared to retrofitting support posts and flashing into completed exterior siding later on.
A well-planned outdoor integration strategy follows three core site coordination phases:
- Subsurface Excavation: Digging utility trenches, drainage swales, and footing pads simultaneously during primary land grading.
- Structural Integration: Securing ledger attachments, flashing membranes, and electrical rough-ins before exterior insulation and siding are installed.
- Final Surface Finishing: Completing deck planking, patio stonework, and softscaping after heavy construction equipment has permanently left the site.
Applying this phased structure keeps heavy machinery off finished yards, protects your fresh landscaping, and avoids costly retrofits after the main house is built.
Coordinating Perimeter Security and Access Early in Development
A custom build site is a busy, high-liability environment filled with expensive tools, raw materials, and constant heavy equipment traffic. Leaving perimeter planning and site security until after the house is built is a missed opportunity to protect your ongoing investment and manage overall site logistics.
Early in the development process, establish clear property lines and create temporary access routes that support heavy delivery trucks without damaging finished grading or underground utility lines. Securing the perimeter early prevents unauthorized access, reduces tool theft, and keeps material staging areas organized throughout construction.
Coordinating your site layout early makes it easier to work with a custom fence builder to erect durable perimeter boundaries during early site prep, rather than waiting until landscaping is complete.
At the same time, arranging professional gate installation for your primary access road gives you control over site deliveries, prevents heavy trades from parking on soft soil shoulders, and protects your driveway sub-base during wet weather. Integrating these perimeter elements into your primary site budget keeps the construction zone secure, organized, and running smoothly from day one.
Proper site access planning also protects permanent driveway surfaces from severe structural damage. A single fully loaded concrete mixer or lumber delivery truck can weigh over sixty thousand pounds. If these vehicles drive over freshly laid asphalt or unreinforced gravel driveways, they will crush the sub-base, leave deep ruts, and cause premature cracking.
By establishing a dedicated, heavy-duty gravel construction entrance during site clearing, you protect your future finished driveway. Delivery drivers have a stable, designated staging zone, keeping mud off public roads and preserving your property’s soil structure throughout the build.
Maintaining Strategic Financial Discipline for Long-Term Value

Building a custom home is one of the most rewarding financial and personal investments you will ever make, but it demands consistent discipline from initial floor plans to final inspection. Cost overruns are rarely caused by a single major factor; they are the cumulative result of uncoordinated trade schedules, late design changes, missed material lock-ins, and unplanned site preparations.
By taking control of your financial baseline early, selecting structural systems that maximize floor plan efficiency, locking in material orders ahead of time, and coordinating specialty trades early, you can keep your budget firmly on track.
Focus your energy on proactive planning during the design stage rather than reactive fixes during construction. With a clear plan and thoughtful trade coordination, you can turn your custom home vision into a lasting, high-value reality without sacrificing your financial peace of mind.